Stainless steel is prized for its durability and sleek look, but scratches on stainless steel surfaces are common. If you want to know how to remove scratches from stainless steel, how to get scratches out of stainless steel, or how to fix deep scratches on stainless steel appliances, this guide covers every method. Whether you need a stainless steel scratch remover for minor scuffs or want to learn how to take scratches out of stainless steel with household items, read on for proven techniques and expert tips.
Understanding Stainless Steel Scratches
If you’re searching for how to get rid of scratches on stainless steel or wondering, "Can you remove scratches from stainless steel?"—the answer is yes, with the right approach. Before you start removing scratches from stainless steel, it’s important to understand the types of scratches you might encounter.
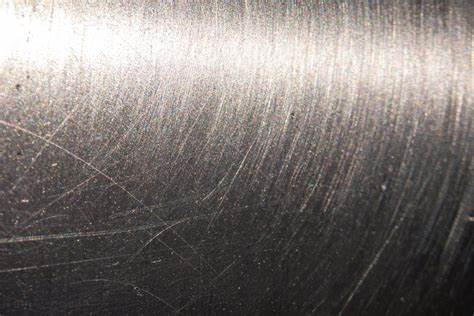
Light Surface Scratches: These minor scratches on stainless steel are usually easy to fix. You can get scratches out of stainless steel using non-abrasive cleaners, baking soda paste, or even toothpaste.
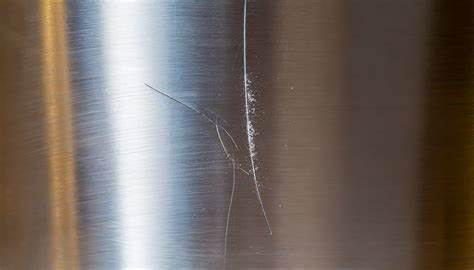
Deep Scratches: If you need to know how to remove deep scratches from stainless steel, you’ll need more advanced techniques like sanding with fine-grit sandpaper or using a stainless steel scratch removal kit.
Common causes of scratches include the use of abrasive cleaning materials, accidental impacts from hard objects, dragging items across the surface, and normal wear and tear over time.
Assessing the Damage
Before you get rid of scratches on stainless steel, assess the damage:
- Clean the surface with mild detergent and a microfiber cloth.
- Dry thoroughly.
- Examine the scratches under good lighting and determine if you need to remove light scratches or deep scratches from stainless steel.
Always work in the direction of the grain when you remove scratches from stainless steel.
Essential Tools and Materials
To get scratches out of stainless steel, you’ll need:
- Microfiber cloths
- Non-abrasive sponges
- Stainless steel cleaner or stainless steel scratch remover
- Baking soda
- White vinegar
- Olive oil or mineral oil
- Fine-grit sandpaper (for deep scratches)
- Stainless steel scratch removal kit (for stubborn scratches)
- Protective gloves
Having these materials on hand will ensure you're prepared for various scratch removal methods.
Removing Light Scratches
How to Remove Light Scratches from Stainless Steel
If you’re wondering how to get scratches out of stainless steel or how to remove a scratch on stainless steel, try these methods first:
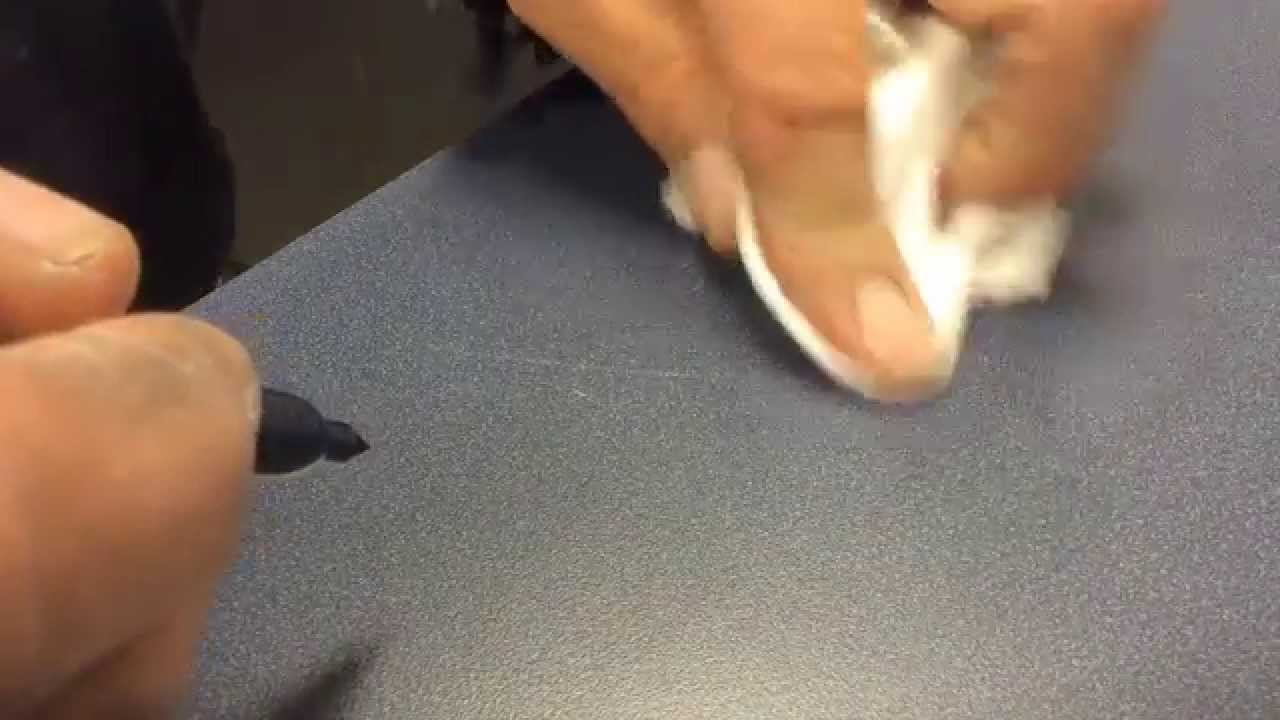
Baking Soda Paste: Mix baking soda and water to form a paste. Apply to the scratch and gently rub along the grain with a soft cloth. Rinse and dry.
Toothpaste Method: Apply whitening toothpaste to the scratch. Rub gently with a soft cloth, following the grain. Rinse and dry. This is an effective way to buff out scratches in stainless steel.
Non-Abrasive Stainless Steel Cleaner: Use a stainless steel scratch remover or cleaner, applying it with a soft cloth in the direction of the grain. Wipe clean and buff dry.
Additional Techniques for Scratch Removal
In addition to the methods mentioned earlier, there are other effective techniques for removing scratches from stainless steel:
WD-40 Method: For minor scratches, WD-40 can be used as a temporary fix. Spray a small amount onto a microfiber cloth and gently rub over the scratch in the direction of the grain. This method can also help restore shine but should be used cautiously.
Stainless Steel Scratch Remover Kits: These kits are designed specifically for removing scratches and often include abrasive compounds and polishing tools. Always follow the manufacturer's instructions and test in an inconspicuous area first.
Tackling Deep Scratches
How to Remove Deep Scratches from Stainless Steel
If you need to know how to remove deep scratches from stainless steel or how to fix scratches on stainless steel that are more severe:
Sandpaper Method: Use fine-grit sandpaper (400–600 grit). Wet the sandpaper and gently sand the scratch in the direction of the grain. Progress to finer grits for a smooth finish. Clean and polish the area afterward.
Stainless Steel Scratch Removal Kit: These kits contain abrasives and polishing compounds. Follow the manufacturer’s instructions and always test in an inconspicuous area first.
Professional Help: For very deep scratches on stainless steel, consider hiring a professional for stainless steel scratch removal.
How to Polish Scratched Stainless Steel
After you get scratches out of stainless steel, restore shine by:
Cleaning the surface with a stainless steel cleaner.
Applying a small amount of olive oil or mineral oil to a microfiber cloth and buffing in the direction of the grain.
Using a stainless steel polish for extra luster.
Preventing Future Scratches
To prevent future scratches and maintain the pristine appearance of your stainless steel surfaces, adopt these practices:
Use Soft Materials: Always clean with soft cloths or microfiber towels, which are gentle on stainless steel and prevent scratches.
Avoid Abrasive Cleaners: Never use abrasive cleaners, steel wool, or scouring pads, as they can damage the surface.
Protect High-Traffic Areas: Apply protective films or pads to areas that are frequently used or exposed to heavy wear.
Prompt Cleaning: Clean spills immediately to prevent staining and etching.
Use Protective Accessories: Utilize cutting boards and trivets on countertops to prevent scratches from kitchen utensils and appliances.
When to Seek Professional Help
While many scratches can be addressed at home, some situations warrant professional intervention:
- Deep gouges that expose the underlying metal
- Scratches on specialized finishes or coatings
- Damage to critical components of appliances
- Extensive scratching across large areas
Professional technicians have the tools and expertise to handle complex repairs without risking further damage.
Frequently Asked Questions
Q: Can all scratches be removed from stainless steel? A: While many scratches can be minimized or eliminated, very deep scratches may not be completely removable without professional intervention.
Q: Is it safe to use sandpaper on stainless steel? A: Fine-grit sandpaper can be used cautiously, but it may alter the surface finish. Always test in an inconspicuous area first.
Q: How often should I polish my stainless steel appliances? A: Regular cleaning is sufficient for maintenance. Polish every 2-3 months or as needed to maintain shine and protect the surface.
Q: Can I use olive oil to polish stainless steel? A: Yes, a small amount of olive oil can be used as a natural polish, but be sure to wipe away any excess to prevent a greasy residue.
Q: Will removing scratches void my appliance warranty? A: DIY scratch removal may void some warranties. Check your warranty terms or consult the manufacturer before attempting significant repairs.
Conclusion
By following these methods for removing scratches from stainless steel, you can restore your appliances and surfaces to their original shine. Whether you need to know how to get scratches out of stainless steel, how to remove a scratch on stainless steel, or how to fix deep scratches, always start with the gentlest method and progress as needed. With regular care and the right stainless steel scratch remover, your stainless steel will look its best for years to come.